How To Make Compost At Home For Beginners
To support the running costs of Moral Fibres, this post may contain affiliate links. This means Moral Fibres may earn a small commission, at no extra cost to readers, on items purchased through these links.
Looking to lighten your impact on the environment? Rather than buying plastic bags of compost, why not try making your own peat-free compost? It’s really easy – here’s everything you could ever want to know on how to make compost at home.
Did you know that in the UK alone we collectively throw an estimated 4.5 million tonnes of food and drink in the bin each year?
This is a huge problem as when food is sent to landfill, as it decomposes without any oxygen. This might not sound like a big deal, but when food decomposes without any oxygen (in a process known as anaerobic digestion) it releases a greenhouse gas called methane.
Methane produces 21 times as much warming to our atmosphere as carbon dioxide, driving climate change at a much faster rate. It’s therefore vitally important to avoid sending food to landfill as much as possible.
Undoubtedly the best way to reduce food waste is to plan your food shopping carefully and freeze leftovers. However, composting also has a vital role in reducing the amount of food sent to landfill.
How To Get Started
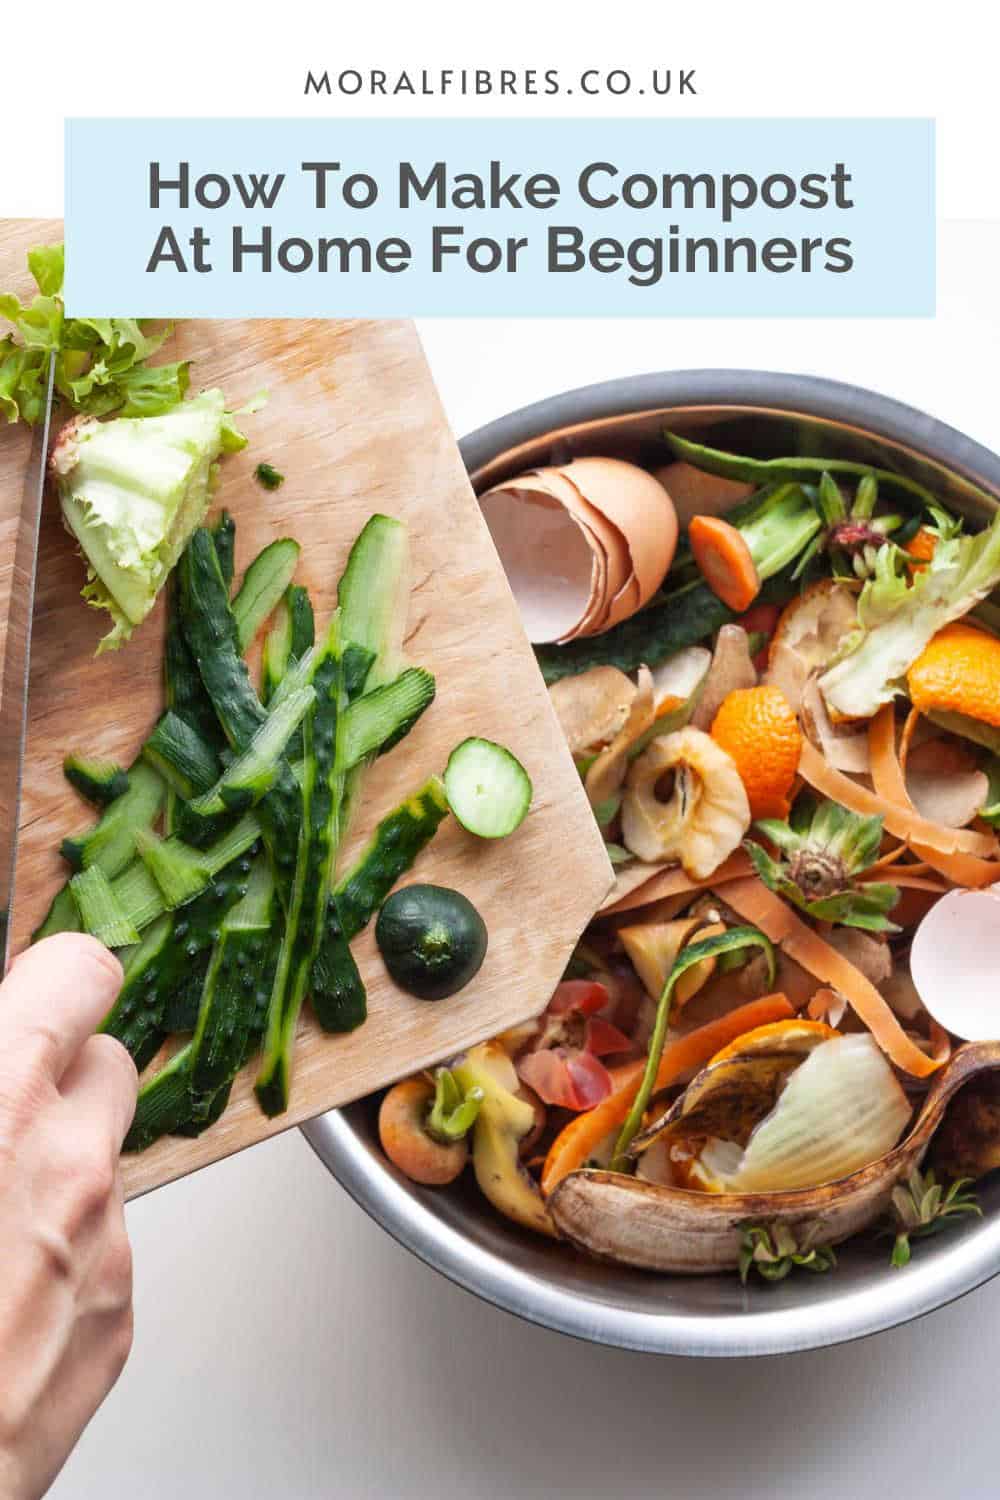
Composting kitchen waste isn’t hard to do. And, contrary to popular opinion, isn’t a smelly job if done correctly. So I thought I’d show you how to make compost at home, odour-free!
And if you don’t have a garden, check out this handy guide on how to compost in a flat.
Start In The Kitchen
It can be hard knowing where to start, but I think the easiest place is to start in the kitchen. Gathering the supplies you need, and getting your indoor setup together gives you good momentum for moving on to the next stage.
The Equipment You Need
First of all, you need a lidded kitchen caddy to hold your kitchen waste. I have a lidded caddy like this that I sit on my countertop. However, if you have a tiny kitchen then you can even get a caddy that hooks onto the wall or inside a cupboard.
Next, think about whether you would prefer to use your caddy. Some people like to line their caddy with a compostable caddy bag. It does add additional cost, but it does mean you don’t have to wash your caddy every time you empty it.
A low-impact and low-cost alternative is to make bags out of old newspapers. Sounds complicated? It’s really not! Here’s a 30-second video showing you how to make a liner:
Other people eschew the bag and go bagless. If you don’t mind washing your caddy every time you empty it then go for it!
What Can Go In Your Kitchen Caddy?
You can place all sorts of kitchen scraps and waste in your kitchen caddy:
- fruit and vegetable peelings (citrus skins don’t compost well)
- fruit and vegetable scraps,
- salad leaves
- tea leaves and bags – not PLA-based teabags or teabags made from polypropylene. Confused? Check out my guide to plastic-free teabags to see if your preferred tea brand is compostable or not
- coffee grounds and filter papers
- crushed eggshells
- nutshells
- hair and pet fur
Onions should be added sparingly, as worms are not keen on onions.
What Shouldn’t Go In Your Kitchen Caddy
There are also a few things that you don’t want to put in your caddy. Avoiding the following items helps to stop odour problems and rodents:
- Meat
- Fish
- Eggs (crushed eggshells are ok)
- Poultry scraps
- Dairy products
- Fats, grease, lard, or oils
It’s also not a good idea to put some products labelled as compostable in your caddy, such as compostable cups. Read here for why you can’t compost compostable cups at home.
Need more help? See my full guide on what you can put in a home compost bin for what you can and can’t compost.
Consider Your Garden Setup
Now you’ve got your kitchen set up, it’s time to think about your garden.
Choosing A Compost Bin
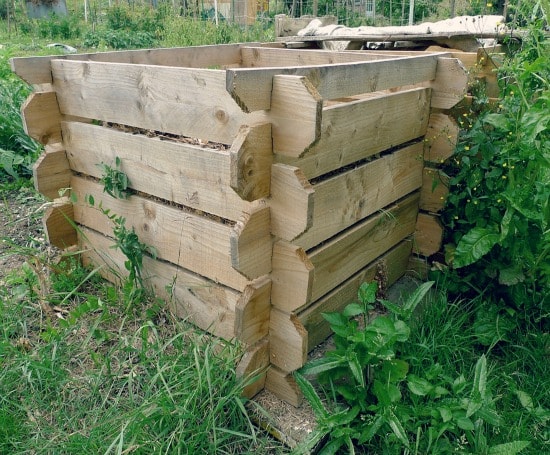
A garden composter is invaluable. The cheapest option is to make your own, like the one pictured above. Here’s a handy guide on how to make your own bin from pallets.
Alternatively, you can buy a compost bin. We have a standard plastic bin, which we find is good for trapping heat and helping our food waste break down quickly. However, there are many different types of bins available. This includes the Hotbin, which can create organic compost 32 times quicker than a standard bin. Or the Green Johanna, which also considerably speeds up the decomposition process.
Where to Site Your Bin
Once you’ve picked your bin, you need to consider where to put it.
The best place to site your bin is in a sunny spot on bare soil. The sun increases the temperature in your bin, making your waste break down faster. Meanwhile, bare soil allows for worms to enter your bin, which is essential for composting.
If you don’t have any bare soil and need to place your bin on slabs or tarmac then don’t worry. Just make sure you place a layer of paper and twigs at the bottom of the bin before you start emptying your waste into the composter. This helps creatures such as worms to be able to colonise your composter.
How to Make Compost
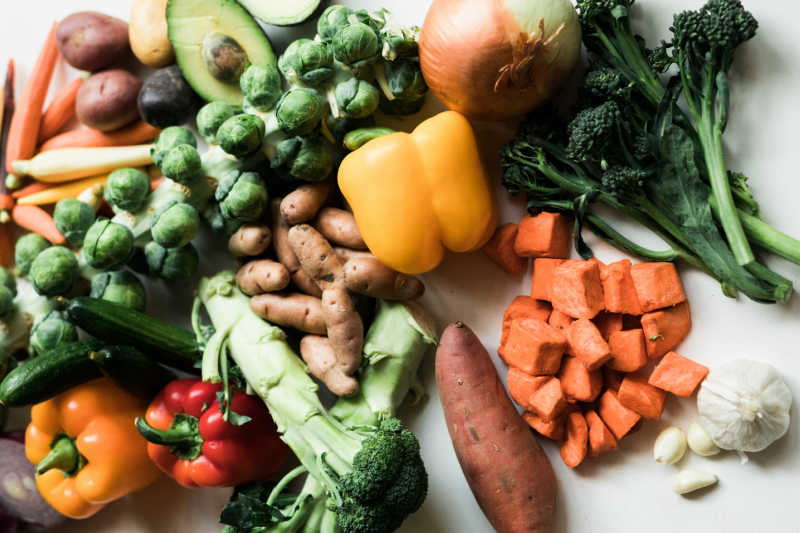
Now you’re all set up you can start composting your kitchen and garden waste. Here’s all you need to know:
Composting Your Food Waste
For most of the year, you probably won’t have to empty the caddy every day – just when it gets full. In our household (of four) we find we empty our caddy into the composter every other day, and our kitchen is odour-free. If you live by yourself you may want to empty it before it gets full to avoid odours, as you will likely be generating less waste.
In summer, fruit flies can be a problem, so I empty the caddy every day. See here for more tips on how to get rid of fruit flies naturally if you find that they become a problem.
Don’t Forget Your Garden Waste
When making compost, it’s vital to add a mix of different materials to your bin. Things you can add include:
- flowers
- spent plants from your garden
- nettles
- rhubarb leaves
- grass cuttings
- fallen leaves
- twigs
- garden trimmings
- hay and straw
I would avoid composting the following garden items:
- Diseased or insect-ridden plants as diseases or insects might spread
- Invasive plant species
- Anything from the garden treated with pesticides, as these may kill vital organisms
Don’t Forget The Other Items You Can Compost
When making compost, I would aim for a 50/50 balance between green waste – this is your kitchen scraps as well as your grass clippings and weeds – and brown waste. This brown waste includes dried leaves and twigs from your garden. However, your brown waste can also include:
- cardboard (torn up)
- egg boxes (torn up)
- scrunched up paper
- toilet roll tubes (torn up)
These types of material are slower to rot, add carbon (essential for providing energy for the worms and other creatures in your composter) and create air pockets. These pockets provide vital oxygen to your compost and help stop your composter from smelling. It’s particularly important to do this if you’ve added grass cuttings to help promote the flow of oxygen.
The Composting No-Nos
As well as the items already listed, there are a few more composting no-nos that you should never add to your bin:
- dog and cat poo
- nappies (even eco-friendly biodegradable nappies)
- receipts (see here why you can’t compost or recycle receipts)
- coal or charcoal ash
How Long Does It Take to Make Compost?
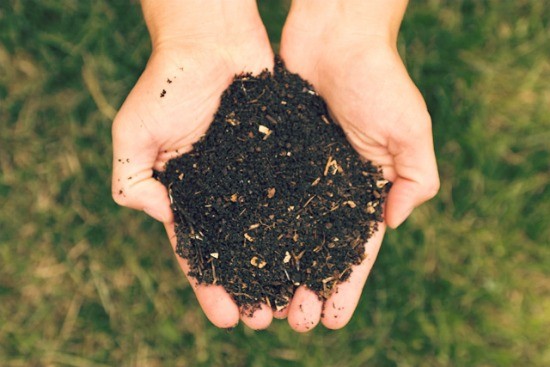
In your composter, your kitchen and garden waste can take anywhere between 3 and 12 months to produce garden-ready compost.
The good news is your compost will be fantastically nutrient-rich. It will be great in borders, vegetable, and flower beds, for potting plants in, and for feeding shrubs and trees. Your compost may have twiggy bits in it – you can sieve these out if you are particularly pernickety about your compost!
If you have any other questions on how to compost then do feel free to ask in the comments below!
Found this post useful? Please consider buying me a virtual coffee to help support the site’s running costs.


