How To Wash & Clean Beeswax Wraps Easily
To support the running costs of Moral Fibres, this post may contain affiliate links. This means Moral Fibres may earn a small commission, at no extra cost to readers, on items purchased through these links.
Beeswax food wraps are invaluable in reducing plastic waste, so here’s how to wash and clean them to help keep them at their best for longer.
Are you buzzing about beeswax wraps yet? Personally, I’ve found that beeswax wraps are an invaluable sustainable alternative to cling film and tin foil. I don’t know how many rolls of single-use cling film and foil I’ve avoided having to buy over the years, just by having a few wraps in my collection.
From covering bowls of leftovers to wrapping around cheese or vegetables, they really do help keep your food fresher for longer. Whether you make your own reusable food wraps or buy pre-made wraps, they really are the bees-knees!
To keep them in the best shape for longer, they do need proper care though. Whilst durable, they are made from relatively delicate natural materials, such as organic cotton and jojoba oil. This means they can’t take the same beating that plastic does. So let me show you the ins and outs of how to clean, wash and dry your beeswax wraps properly to avoid any potential mishaps.
How to Wash, Clean & Dry Beeswax Wraps

Washing your beeswax wraps is thankfully a really simple job. There are just a few key points to keep in mind when you clean beeswax wraps. Let’s take it away!
1. Clean Your Beeswax Wraps With Cold Water
When washing your wraps, it’s important to keep them away from the dishwasher or washing machine and to always use cold or cool water, rather than warm water. Beeswax has a low melting point so hot water can, in the worst-case scenario, melt the wax. In other cases, using hot water can make the beeswax start to crack or crumble away.
So, to help prolong the lifespan of your wraps, keep it cool!
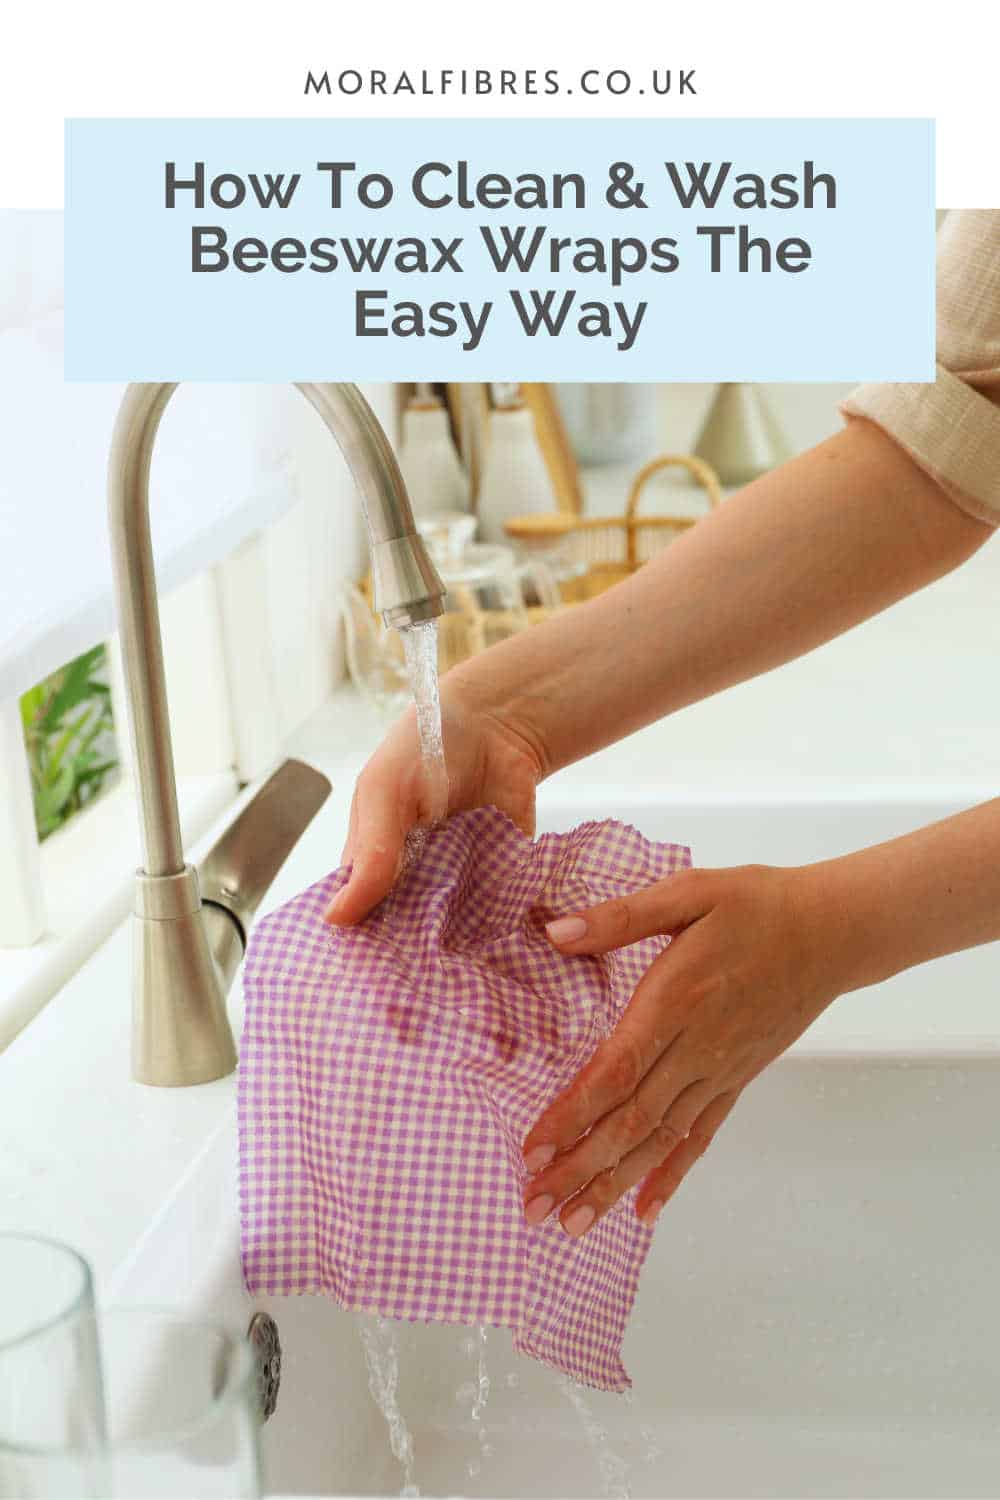
The actual washing process is straightforward. Either wipe your beeswax wrap with a damp cloth or sponge or give it a scrub with a little eco-friendly washing-up liquid. Rinse with cold water, and you’re done.
2. Let Them Air Dry
Once your beeswax wrap is clean, it’s time to dry it.
There’s no need to wring out your wrap like you would a cloth. Instead, hang it to dry on your dish rack or drainer, or hang it over the tap. It will drip dry in the blink of an eye.
Avoid placing your wraps on the radiator or near a heat source to dry, as, as I mentioned before, heat is not a friend of beeswax wraps. Air dry your wrap and it will last so much longer.
3. Store Your Wraps Properly
Once your wrap is dry you’re ready to reuse it again and again. To store it ready for the next time, make sure you keep it in a cool, dry place, such as a kitchen drawer. Avoid exposing it to direct sunlight or heat, as this can soften the beeswax and cause cracks.
4. Refresh As Needed
Through repeated usage, the beeswax coating can wear off your wraps. To revive your wraps, you can place them on a baking tray in a warm oven (185°C/185°F), with a few beeswax pellets sprinkled on top, for a few minutes. This will melt the wax, and you can then spread it with a silicone basting brush to help spread the wax evenly.
What About Cleaning Mouldy Wraps?
Sometimes, despite best intentions, food can be left in your beeswax wraps for a little longer than it should. Once you discover the item lingering at the back of your fridge, you might find the food has left mouldy patches, stains or marks on your wrap.
First of all, don’t worry, it happens to the best of us! Secondly, all is not lost. Most wraps are salvageable – you don’t have to bin them.
To clean mouldy beeswax wraps, simply run some cold water into your sink, and add a little bit of washing-up liquid. It might be tempting to add hot water, but avoid this temptation – it’s best to use cold water.
Let the wrap soak for a few minutes, and then give it a good scrub with a scrubbing brush until it’s clean. The scouring action may feel like it will damage the wax wraps, but as long as the water is cold the wax should stay intact.
Some marks may remain. In this case, you can iron your wrap to renew it. All you need to do is place an old tea towel on your ironing board and place some greaseproof paper down. Place the wrap on the paper, and pop another bit of greaseproof paper on top of your wrap, so the wrap is completely sandwiched. Run a hot iron over the top (make sure the steam function is switched off) until the wax melts slightly and it should take out most marks.
Bonus Tips To Make Your Beeswax Wraps Last Longer
Whilst I’ve covered all you need to know about how to keep your beeswax wraps clean, I have just a couple of extra bonus tips to help you get the most value for money from your bee wraps:
1. Avoid Heat & Raw Meat
Beeswax wraps are not suitable for wrapping hot foods, raw meat, or liquids. Heat can melt the wax, and as beeswax and cotton are porous, raw meat may cause cross-contamination. You can pop raw meat in a bowl and cover the bowl with a wrap though – as long as the wrap doesn’t touch the meat.
2. Don’t Use Beeswax Wraps In The Microwave
Beeswax wraps are fine to use in the fridge, and even in your freezer for up to three months. However, using them in the microwave is a big no-no. Not only will you melt the wax, but you’ll be left with a big sticky puddle to clean up. Keep your wraps for cold storage only.
2. Compost When You’re Done
On average, a beeswax wrap can last for about a year with regular use and proper care. Isn’t that un-bee-lievable? When your wrap does finally bite the dust, you can compost it at home, provided it’s made from 100% natural materials. Simply cut it up into small strips and add it to your composter, to make lovely compost for your garden.
Found this post useful? Please consider buying me a virtual coffee to help support the site’s running costs.


