How to Make Homemade Clay From Household Ingredients
To support the running costs of Moral Fibres, this post may contain affiliate links. This means Moral Fibres may earn a small commission, at no extra cost to readers, on items purchased through these links.
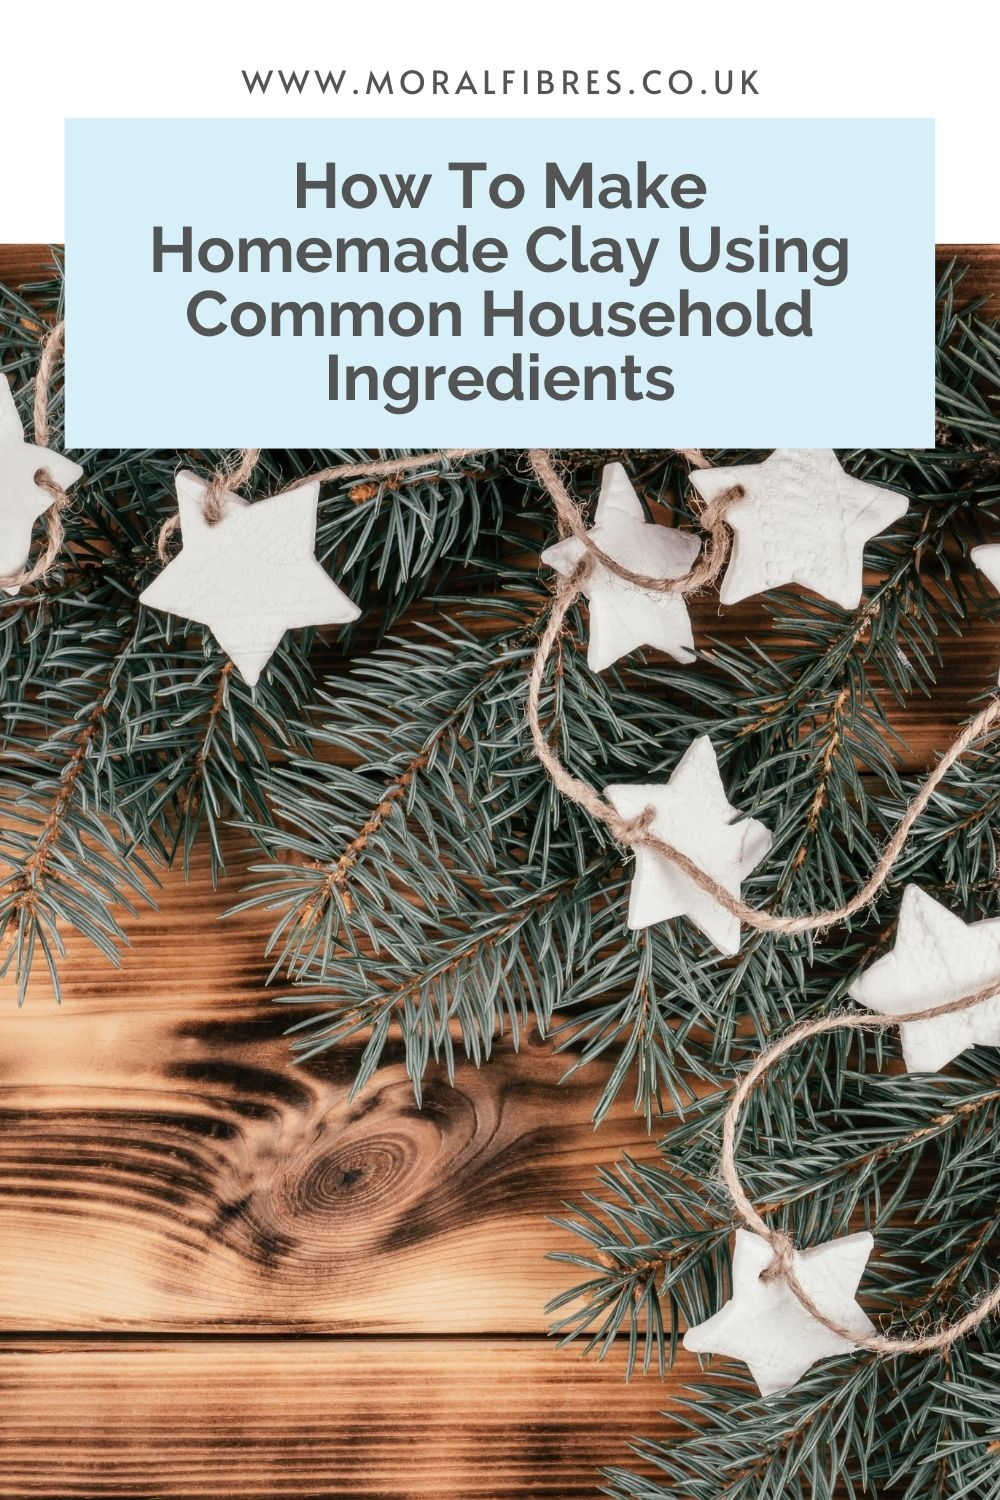
Follow this easy recipe on how to make homemade clay, from just two common household ingredients – cornflour and bicarbonate of soda (also known as baking soda). You can then use this to make beautiful homemade clay Christmas decorations.
Making decorations from air-drying clay is always a really fun activity, especially with kids. However, the packs of air-drying clay always come wrapped in non-recyclable plastic. As such, I’ve been having a go at making my own homemade clay. It turns out this is easier and cheaper than you might think. In fact, it’s a really fun, plastic-free way of making clay, and for making beautiful zero-waste Christmas decorations.
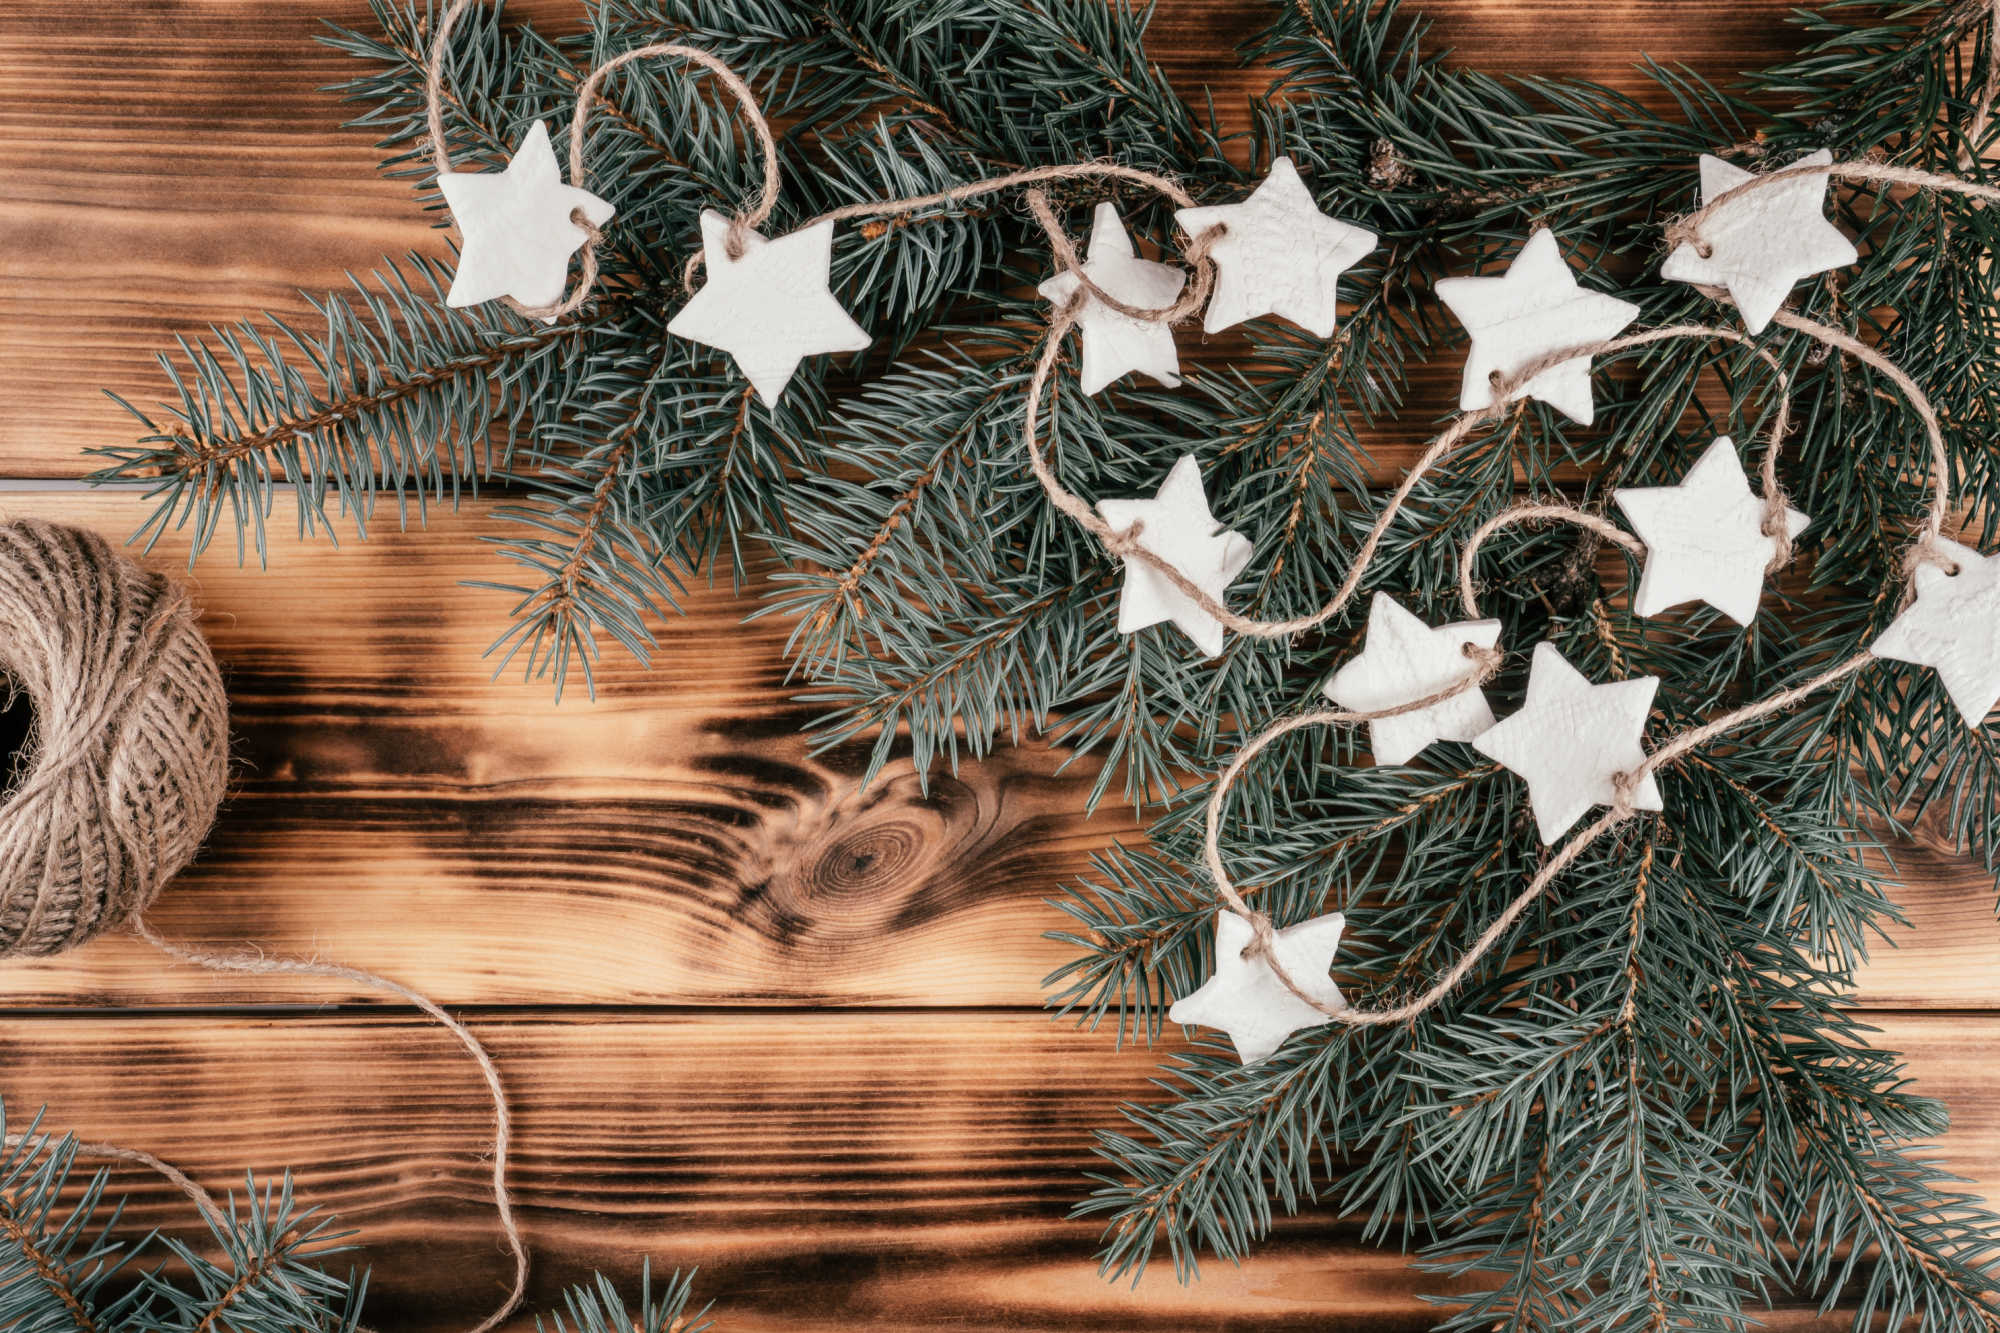
If you’ve tried to make homemade clay from a cornflour and bicarbonate of soda recipe before, then you may have experienced some cracking. I have a clever tip below to help prevent this from happening, so keep reading!
How To Make Homemade Clay
Here’s the full steps to make the clay. I’ve then got some handy instructions on how to make Christmas decorations using the clay.
You Will Need
- 65 grams of cornflour (plus a little extra for dusting your work surface)
- 125 grams of bicarbonate of soda (this is also known as baking soda outside the UK)
- 180 ml water
Method
- In a saucepan, mix the cornflour, bicarbonate of soda, and the water.
- Next, gently heat the mixture on your hob. The consistency will first be that of a soft paste. Keep mixing it until it takes on the consistency of mashed potato.
- Once you’ve reached the desired consistency (if you’re unsure, the mixture will start to pull away from the pan), then remove the pan from the heat immediately and leave to cool. You now have homemade clay!
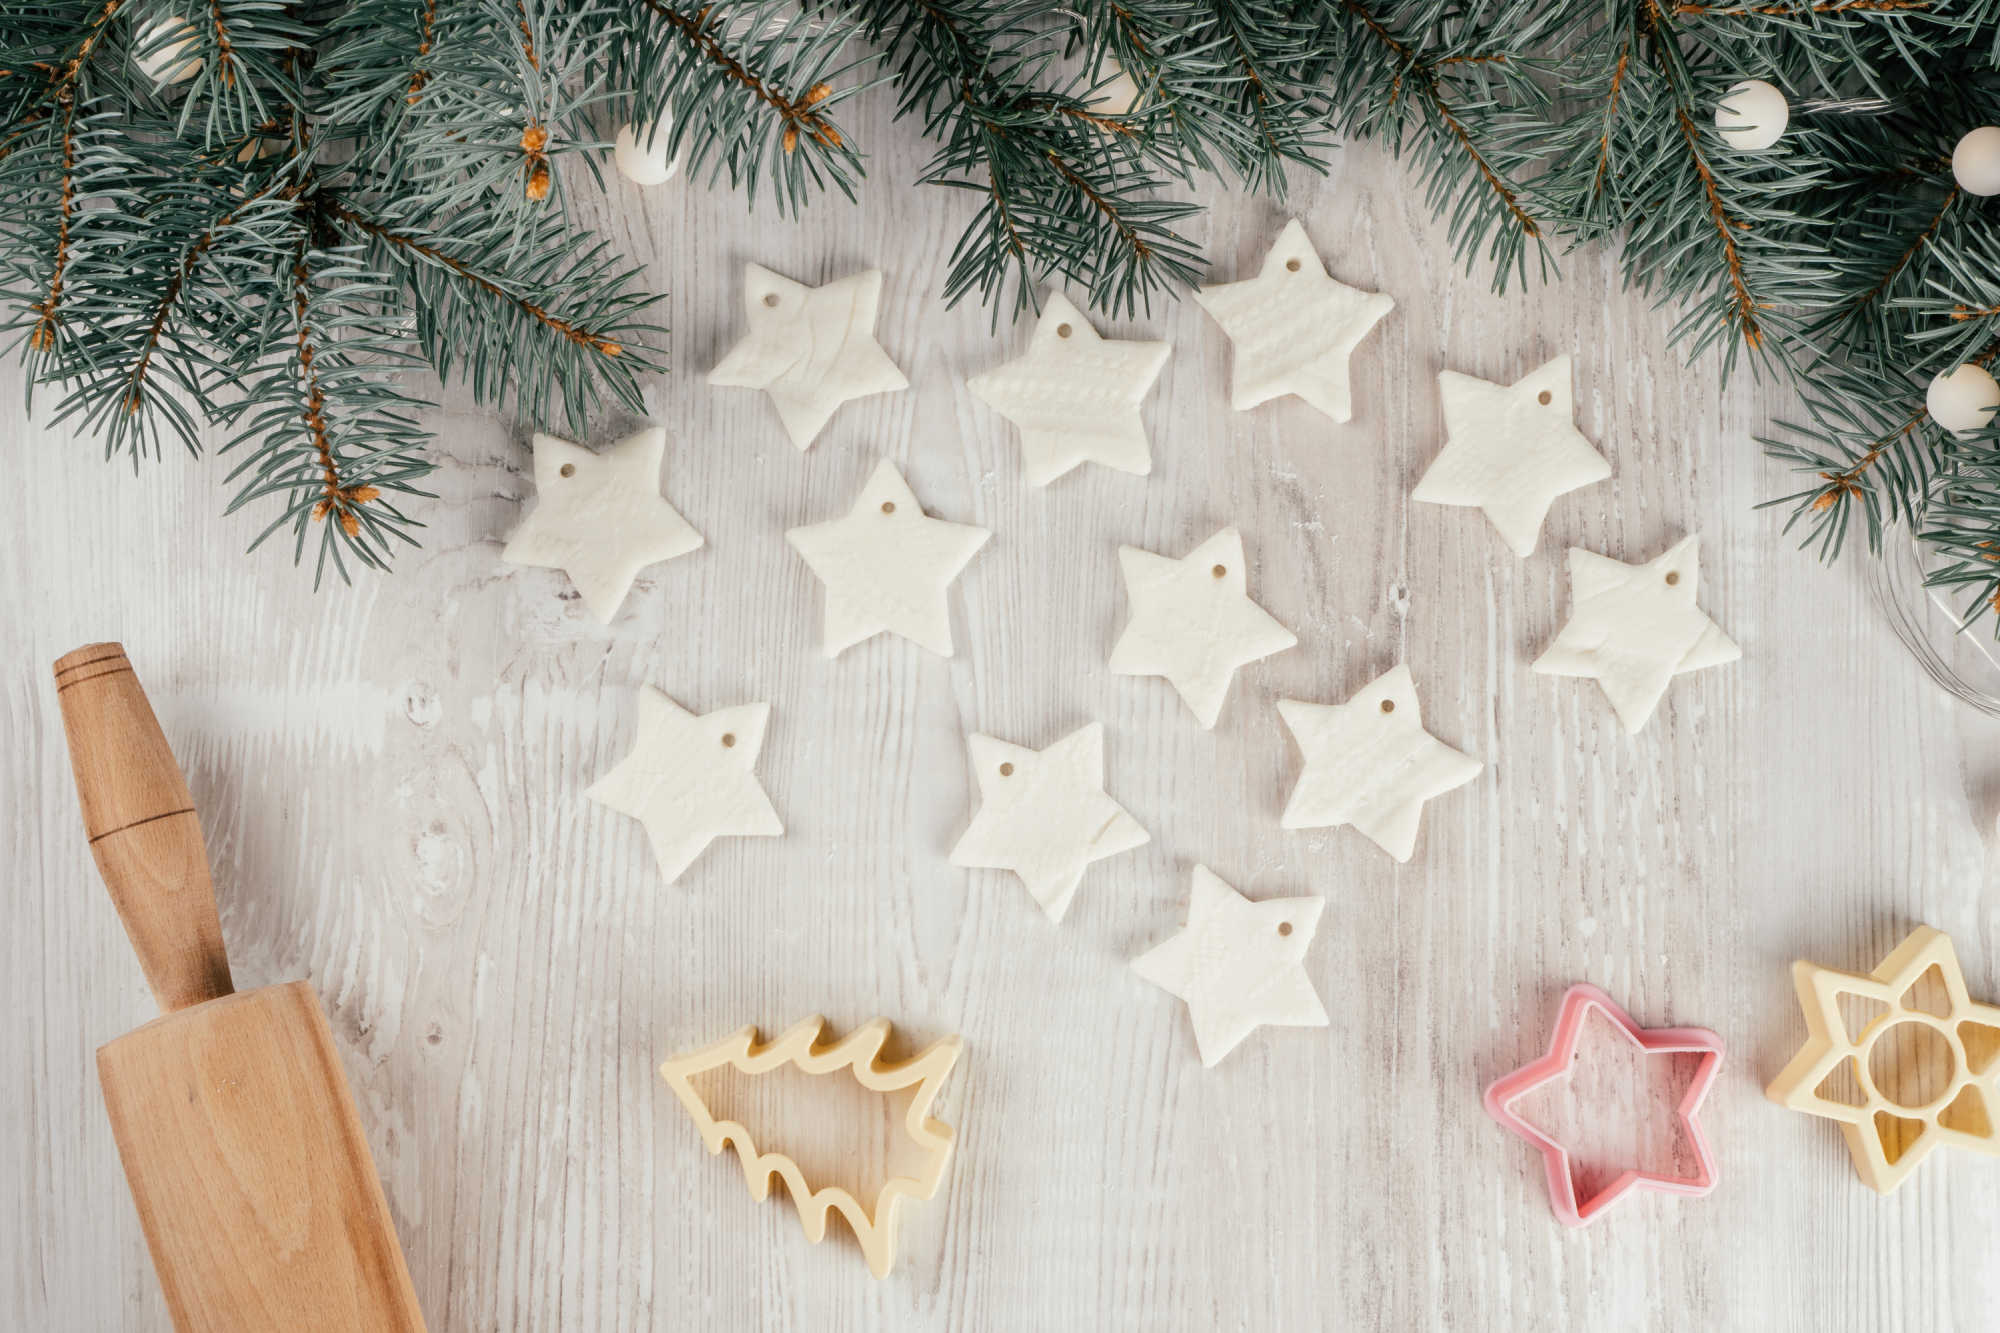
- Use the clay on a cornflour-dusted work surface to create the shapes you require. If you are using cookie cutters to cut out shapes, then less complex shapes work best.
- If you’re planning on hanging your shapes on your tree, or to create a garland, then use a skewer to poke a hole at this stage too.
- Once you’ve cut out your shapes, leave them to air dry for one to two days. After two days, you can then bake them in the oven for around 20 minutes or so at 80°C The cooking time depends on the size of your shapes, so keep a close eye on your creations.
- Remove the decorations from the oven. They should have dried to a white clay texture. This can be left as it is, or you can paint them with paint or marker pens.
Why Do You Air Dry And Then Bake?
It’s important to air dry your homemade clay first, before baking, as this type of clay is prone to cracking. Especially if you dry them out quickly in the oven. Slowly drying the clay creations in the air, away from the sun and direct heat, before baking helps prevent cracking.
How To Make Homemade Clay Christmas Decorations
- Follow the above recipe to make homemade clay.
- Once cool, dust your work surface with cornflour, and spoon your homemade clay onto the cornflour-dusted surface. Next, using a rolling pin, roll out the clay until it is around 5 mm thick.
- Using cookie cutters, cut out your desired shapes. Again, simple shapes work best. At this stage, take a skewer, or similar, to make a hole, to allow you to hang up the decorations either on your tree or as part of a Christmas garland.
- Finally, leave the shapes to air dry for 1 to two days. Once air-dried, bake the shapes in the oven for around 20 minutes, turning halfway so that the clay evenly cooks. Again, if 20 minutes isn’t long enough, keep the shapes in the oven until the clay is no longer soft.
If you would like to incorporate some texture into your decorations, use a textured rolling pin, or a piece of lace to press on a pattern.
How To Store Your Homemade Clay Decorations
If you are using your homemade clay to make Christmas decorations then it’s important to store them correctly, so that you can enjoy them year after year. We had a disaster the first year when ours were stored incorrectly and became soft and mouldy, so do learn from our experience!
I find it’s best to store your clay decorations in an airtight Tupperware tub or glass jar. If you have any silica gel bags lying around from any items you have bought then you can add a silica gel bag to help absorb moisture. However, some silica gel can be poisonous, so do bear in mind that the gel is in there when you come to decorate the following Christmas – particularly if you have pets and/or kids. Alternatively, a tablespoon or two of dried rice in the tub will also do the trick.
More Crafty Ideas!
For more homemade Christmas decoration inspiration, I’ve got loads of great eco-friendly ideas for you.
Firstly, here’s how to dry orange slices to make stunning natural garlands. And if you’ve caught the natural garland bug, then here’s how to make a popcorn garland. Finally, here are even more stunning plastic-free and zero-waste Christmas decorations to make.
If you’re busy getting ready for Christmas then you can also check out my guide to having an eco-friendly Christmas. It’s bursting with festive ideas that are kind to the planet! From choosing an eco-friendly Christmas tree, to help finding eco-friendly gifts and wrapping paper. From tips on plant-based Christmas dinner ideas to tips on reducing your festive food waste, it’s all in there.
Pin this post for later:
Found this post useful? Please consider buying me a virtual coffee to help support the site’s running costs.
