How to Make Beeswax Tealight Candles In 7 Easy Steps
To support the running costs of Moral Fibres, this post contains affiliate links. This means Moral Fibres may earn a small commission, at no extra cost to readers, on items purchased through these links.
Want to make some beeswax tealight candles? It’s so easy – here are the full instructions to make these pretty and sustainable candles.
Lately, I’ve been experimenting with making my own beeswax tealight candles. Standard candles are made from fossil fuels, so I wanted to try making something more sustainable.
It was so easy and successful (for a crafting novice like myself!) that I’ve put together a simple easy guide on how to make beeswax tealights for you.
I always assumed that making candles would be difficult or would require some specialist equipment or tools. The good news is that you don’t! You can make these beautiful beeswax tealight candles in about twenty minutes flat in your own kitchen. The best bit is you don’t need any specialist equipment. Nothing more than some basic candle-making supplies, an old tin can, and a saucepan of water will suffice!
How to Make Beeswax Tealight Candles
Ingredients
To make beeswax tealight candles you will need:
- 4 metal or ceramic containers – I used old pie tins found on eBay.
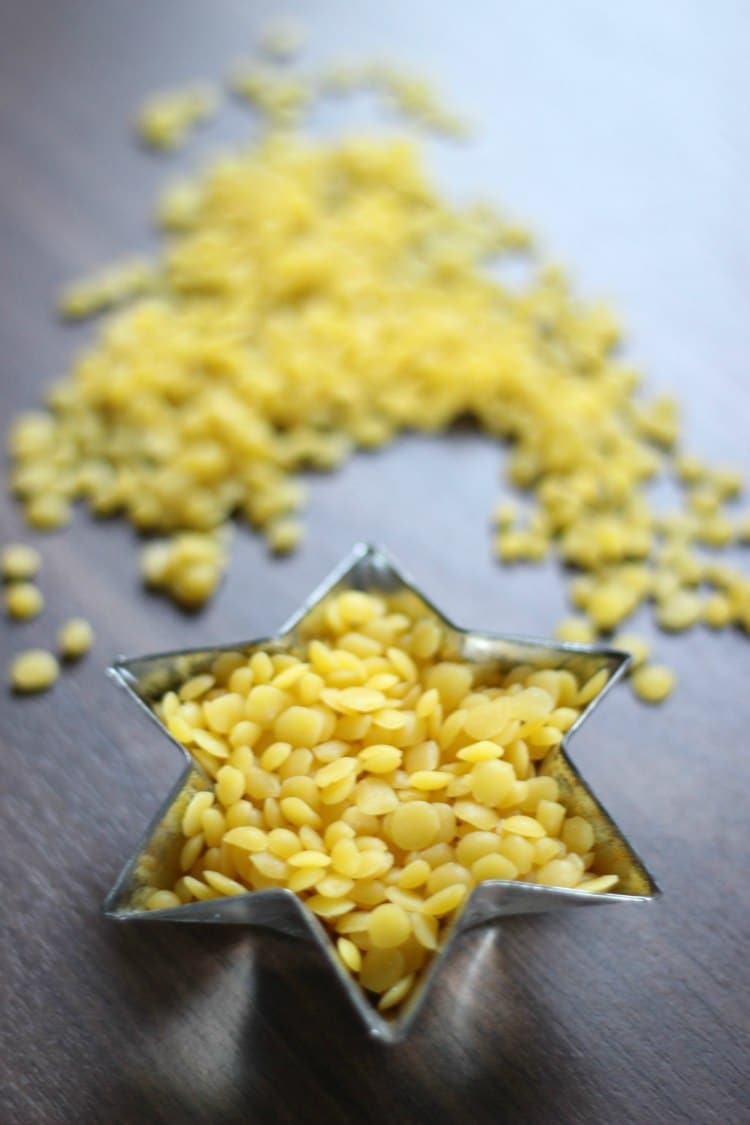
- Approximately 300g beeswax pellets* for four tealights
- 4 petroleum-free candle wicks with sustainers
- Clean tin can
- Saucepan
- Newspaper
- Bamboo Skewers
Instructions
- To make beeswax tealight candles, first, gauge how many pellets you need per holder. To do this, simply fill your container with beeswax pellets. Pour these into the tin can, and then repeat. Through trial and error, I’ve found that to get the right amount of wax you need double the amount of pellets that your container can hold.
- Put some newspaper down to protect your work surface.
- Now put your tin can containing the pellets into a small saucepan of boiling water, and keep boiling. Take care not to get any water into your can.
- Whilst the pellets are heating in the can, stir with a bamboo skewer to help the wax break down into a liquid. It should take around 15-20 minutes to completely liquefy.
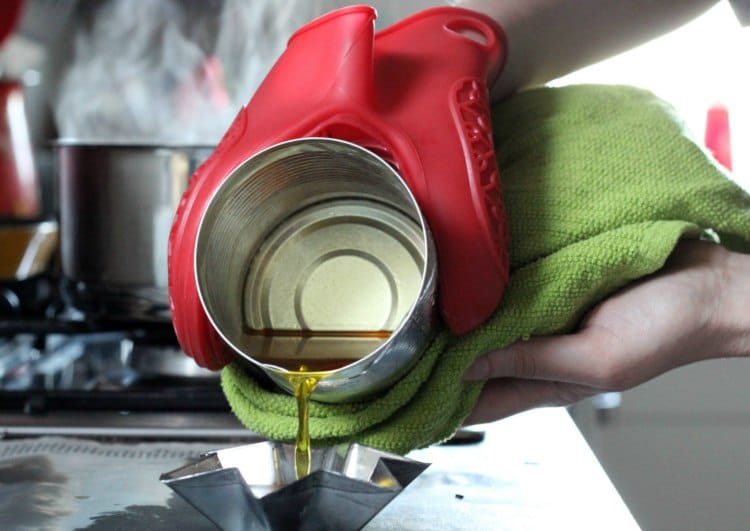
- Once the wax has completely liquefied turn off the hob. Next, using an oven glove, very very carefully lift the hot can out of the water. Slowly pour the melted beeswax into your tealight candle container. Take extreme care with this as the wax will be very very hot.
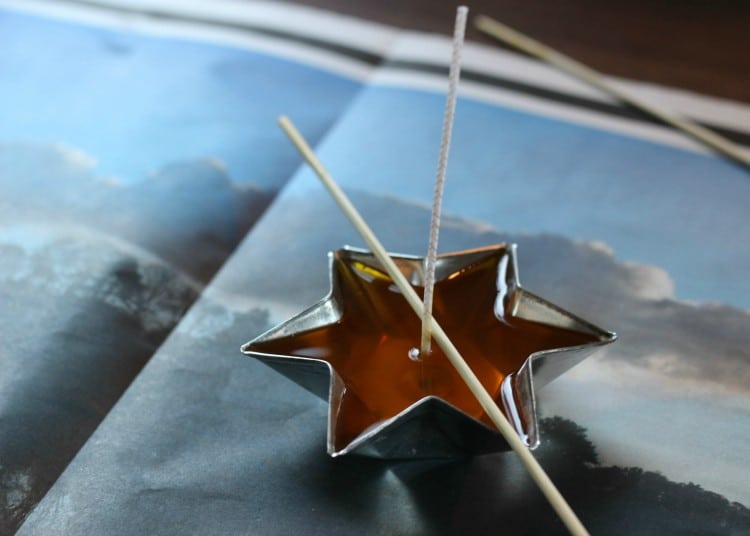
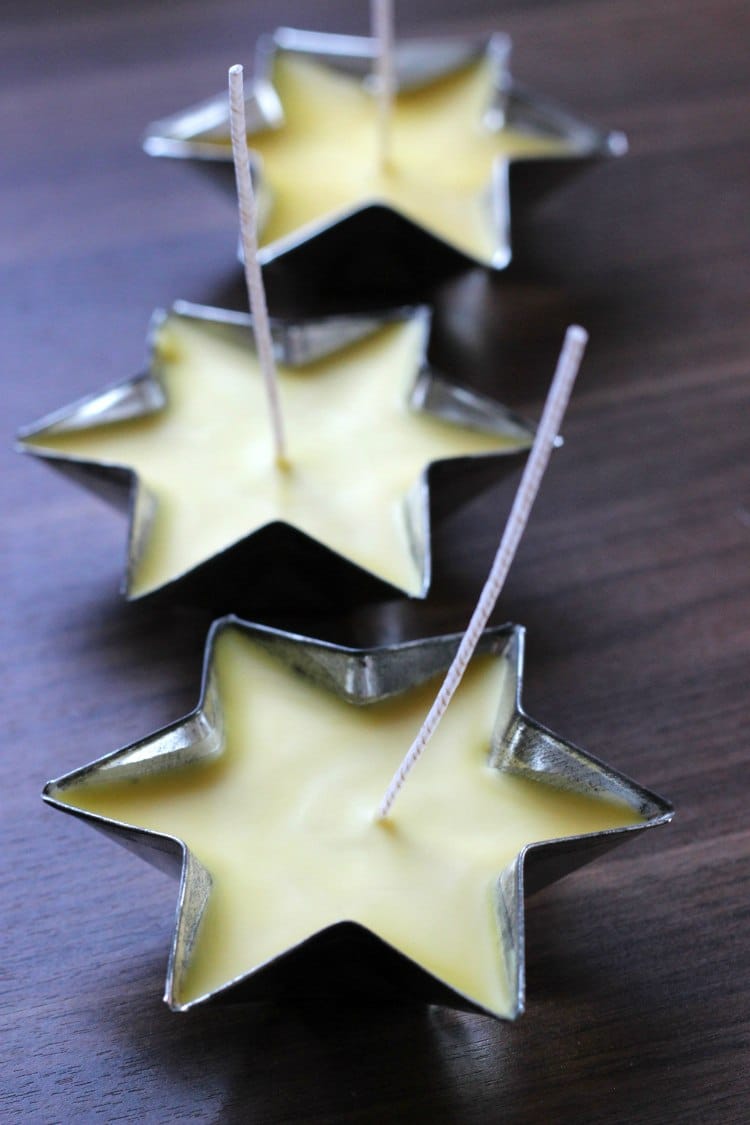
- Add your wick. It may need support with a skewer until the wax starts to firm up again.
- Once the beeswax tealight candles have hardened trim your wick to no more than 1cm in height.
- Finally, burn as you would any other candle.
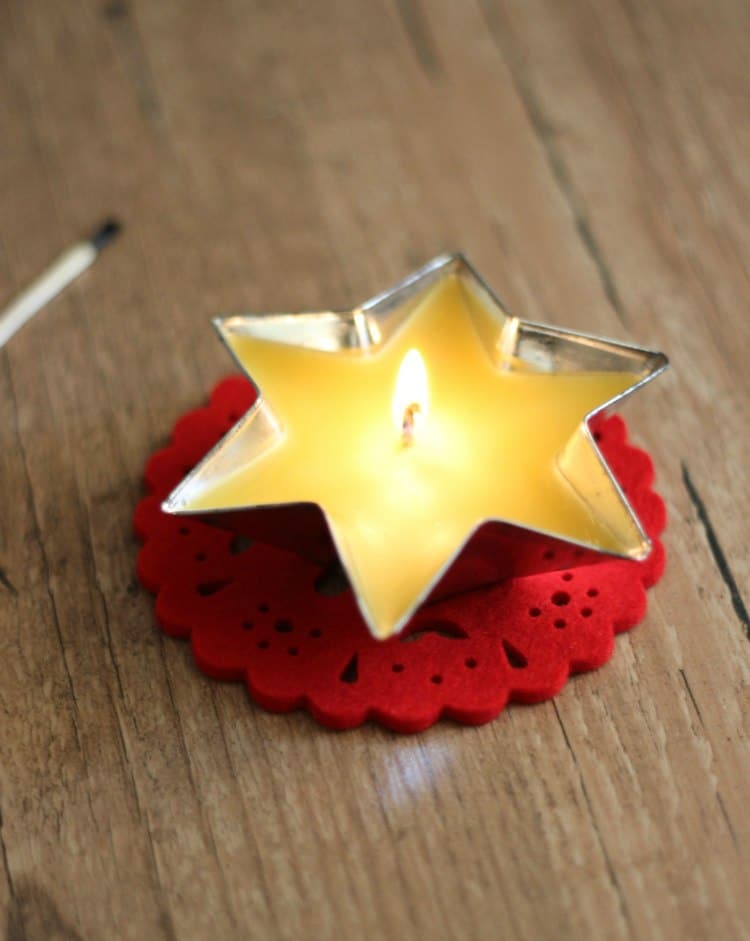
As with any candle, always burn your beeswax tealight candle on a heat-resistant surface, and never leave a burning candle unattended.
Variations on Beeswax Tealight Candles
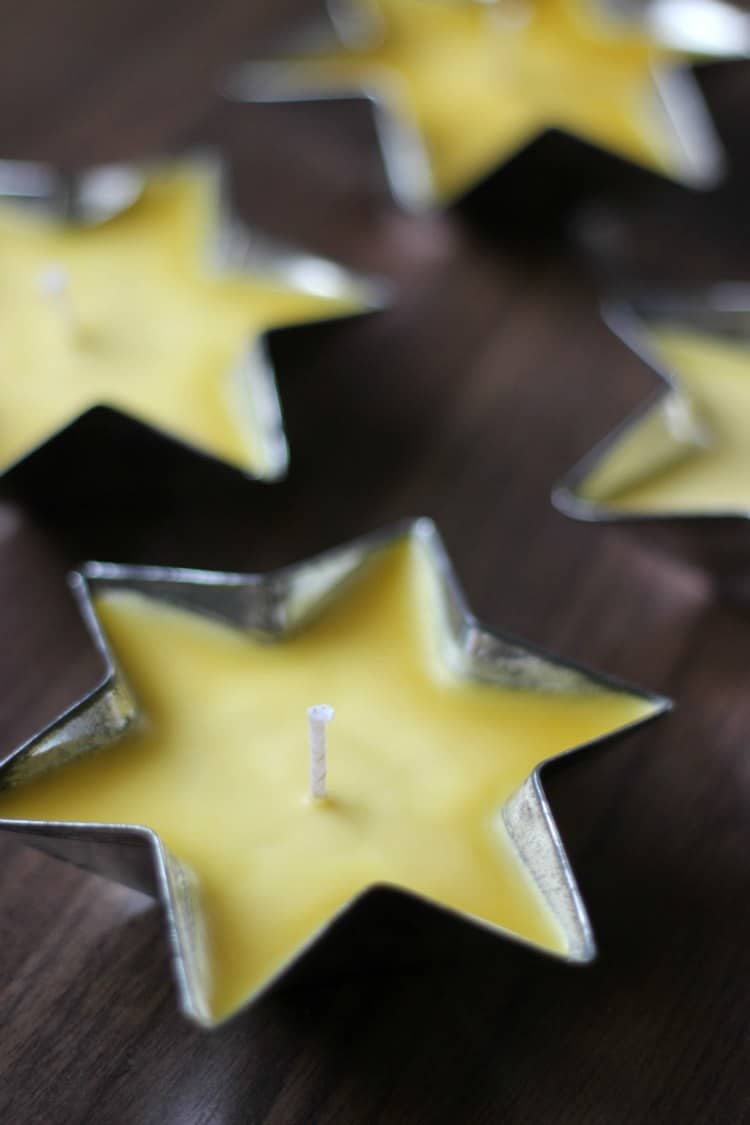
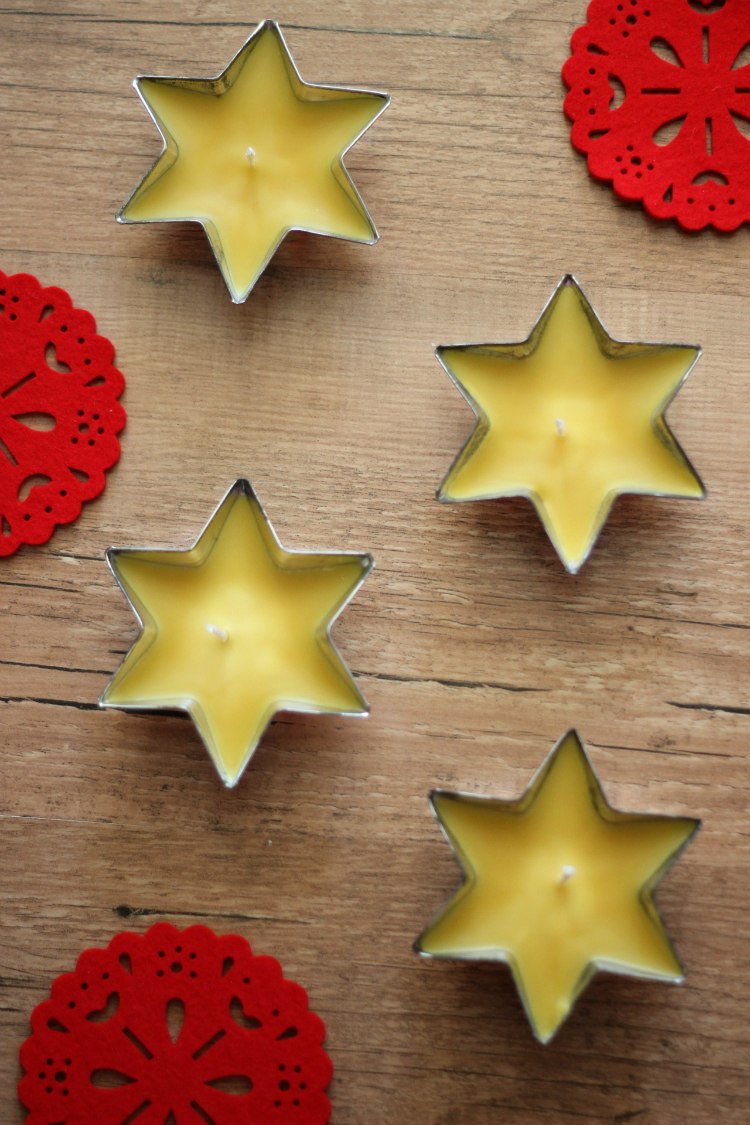
You can use any metal or ceramic container that you like for these beeswax tealight candles. I picked up these old metal pie tins on eBay last year and had been hoarding them until I could decide how best to use them. Candles seemed like the perfect fit.
I also saw that Artemis of Junkaholique made candles in enamel mugs that looked very pretty. They would make a lovely eco-friendly gift idea. I’ve also seen candles made in teacups before. And you could even use tin cans for extra recycling points!
If you have any beeswax leftover, then these beeswax wraps are another really easy and practical make. And if DIY isn’t for you, do check out my guide to the best beeswax candles to buy, to get all the benefits without any of the work!
Found this post useful? Please consider buying me a virtual coffee to help support the site’s running costs.


Be careful – pure beeswax generates a high temperature in a glass container and may cause the glass to shatter – this is because the wax will retain its heat rather than just burning away quickly.
Perfect idea! Thanks for sharing. Personally I prefer besswax’s honey- sweet smell, so I won’t be adding any essential oils. Husband will love them!
My pleasure! And yes, I prefer it’s own aroma too – so nice and natural!
Ooh these are lovely! Didn’t realise how simple it was to make candles. These will definitely be going on my list of things to make in 2015!
Thanks Kate! I hadn’t realised quite how easy it was either! I’m quite craftily challenged so this fit my skill level nicely! So fun and satisfying to make too!